







Renovation Season Has Started. Your Switch Plan Shouldn’t Be an Afterthought
Walk into any hardware supplier or electrician’s office in Bangkok right now and you’ll notice the shift: the rain is finally easing, project timelines that stalled through August and September are moving again, and homeowners who spent the wet months collecting Pinterest boards are now actually signing off on contractors. October through December is the busiest stretch of the Thai renovation calendar, electricians’ schedules fill up fast, and once a crew starts rough-in wiring, most of the decisions about your walls are effectively locked in.
Here’s the part that catches a lot of homeowners off guard: switch and socket planning usually happens far too late. It gets treated as a finishing detail — something to pick from a catalogue in the final weeks, after the paint colors and the furniture layout are settled. But by that point, the mounthing box and wiring is already in the wall. If you didn’t ask for the correct mounting box size for the switch and socket you like, didn’t plan for two-way wiring at the top and bottom of your staircase, didn’t have a dedicated LAN point behind the TV console, or no enough circuits for a kitchen island with both task lighting and appliances, it’s no longer a small fix — it’s a wall you have to open again.
The fix is simple, and it costs nothing but a bit of time at the right stage: walk through your renovation room by room before your electrician begins rough-in, and decide — not just “where do I need a switch,” but what kind.
Choosing the Right Series for you
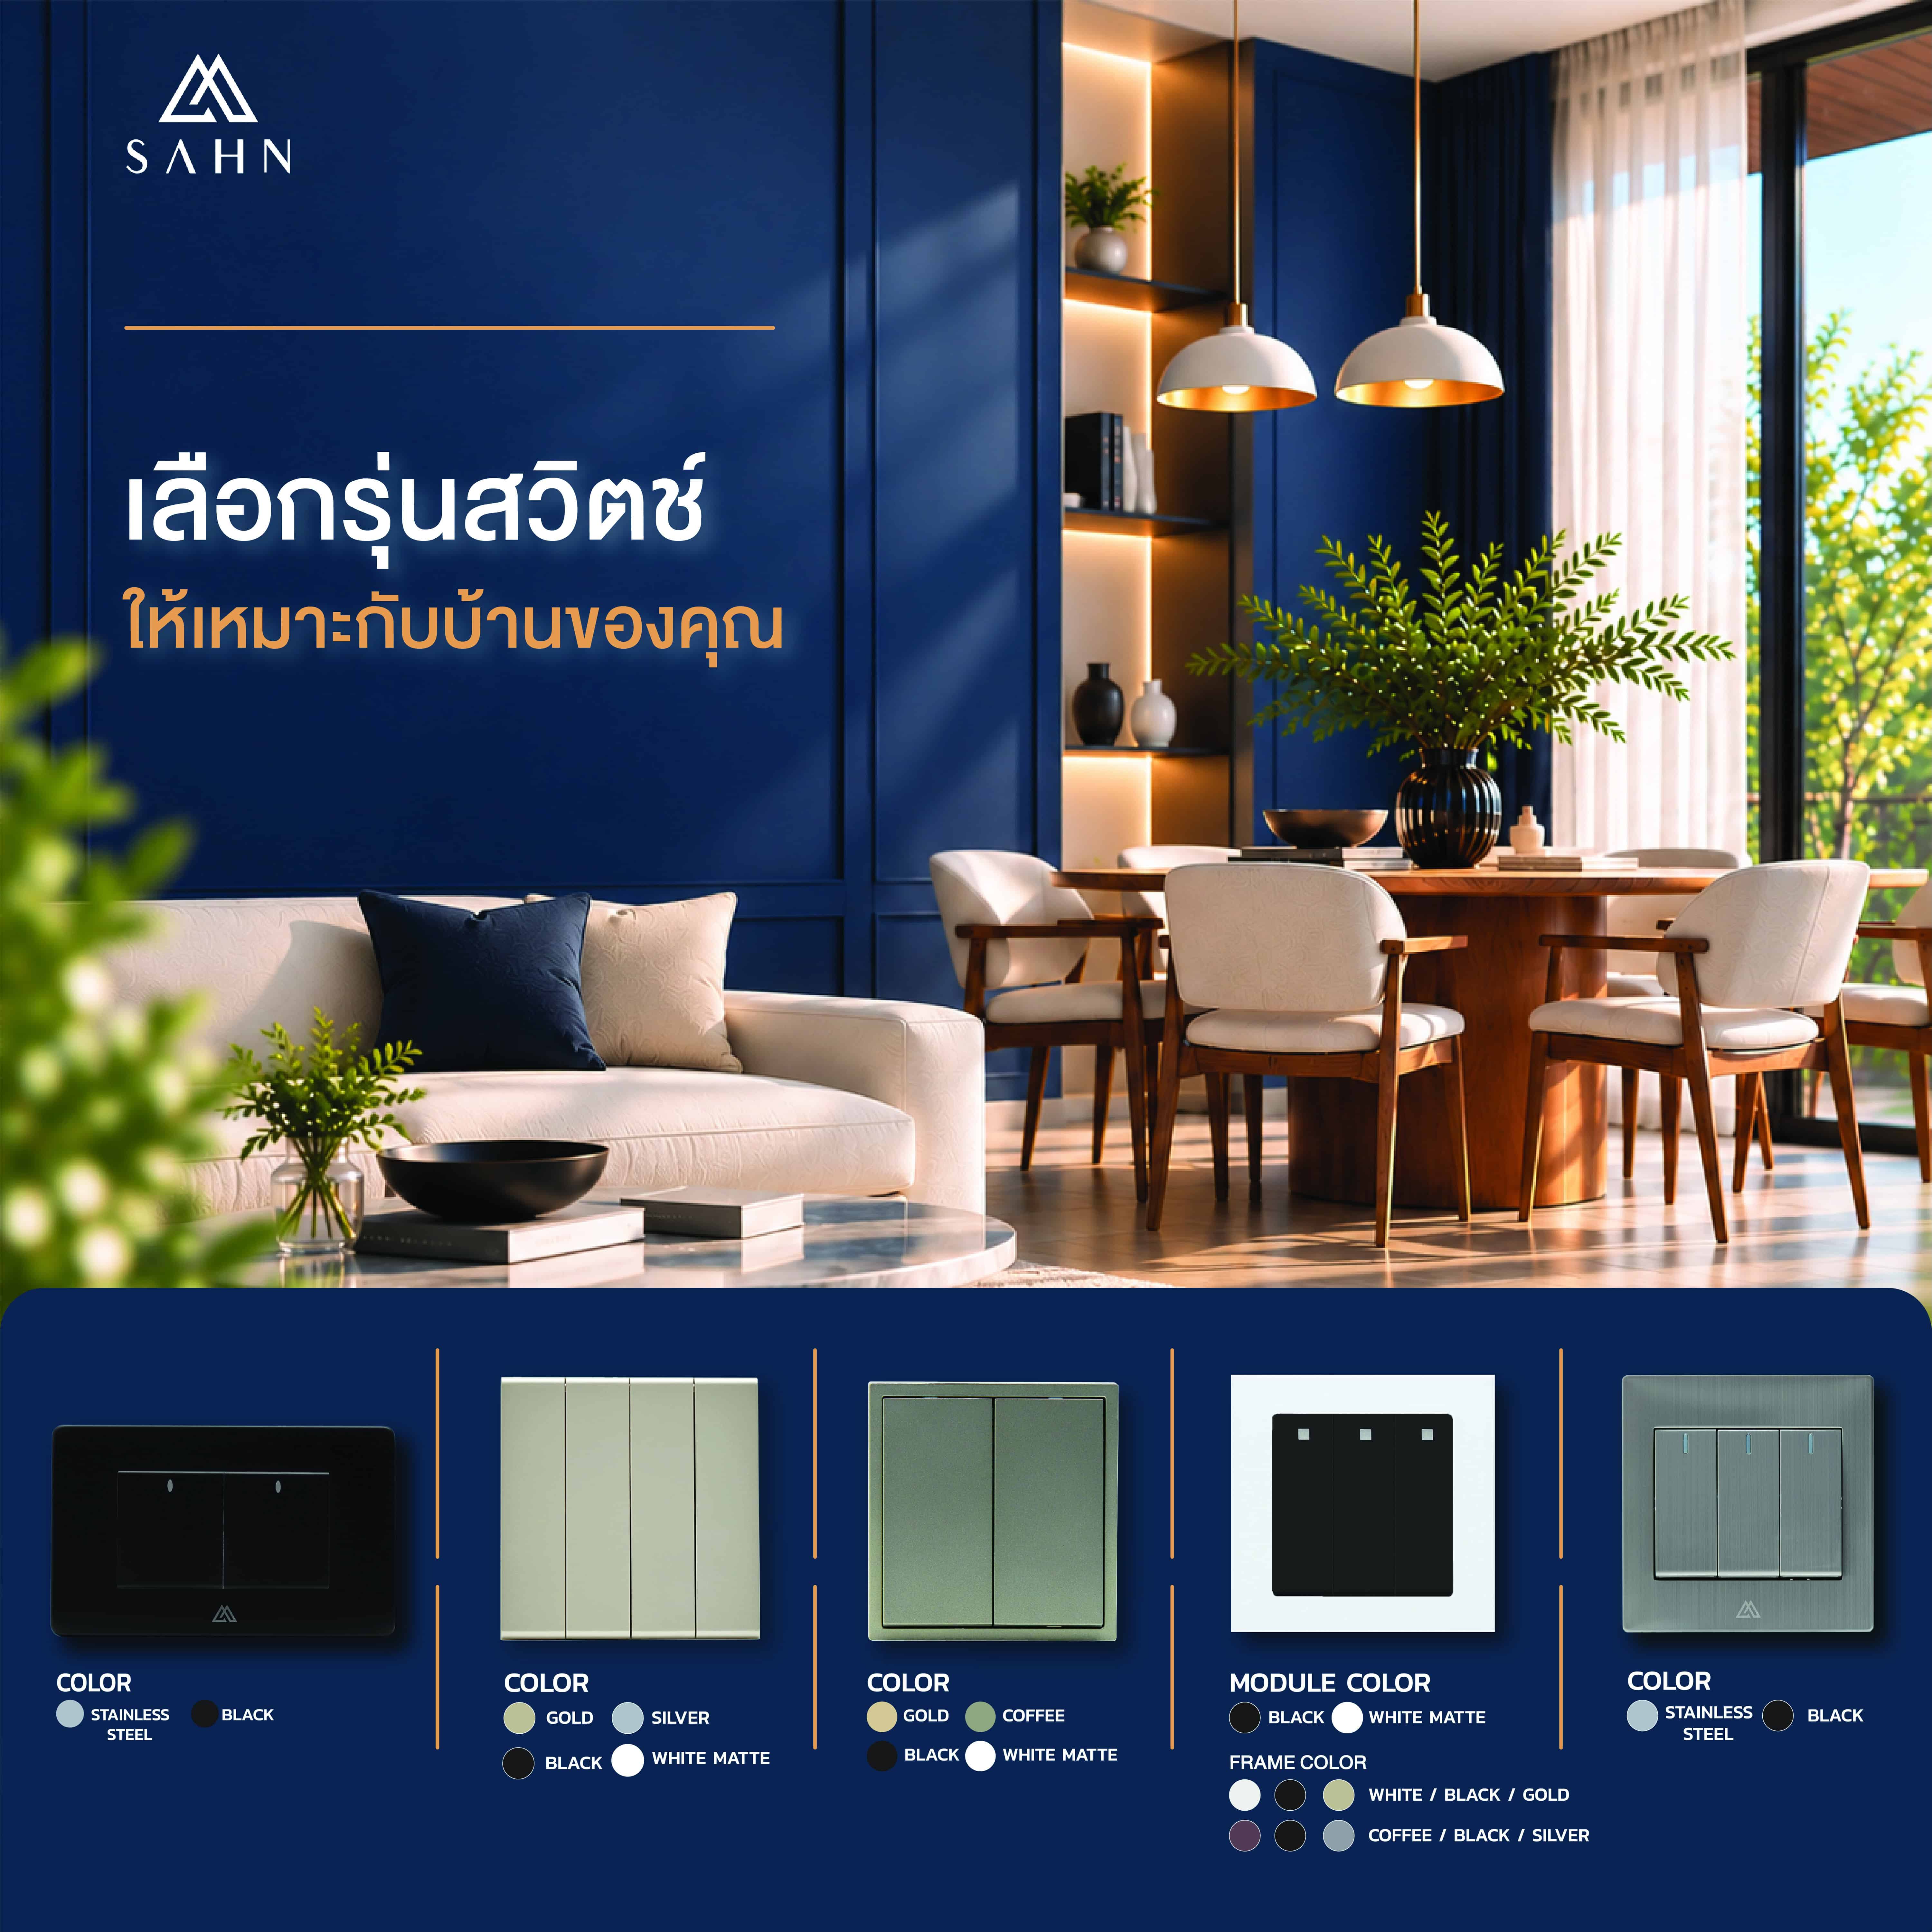
Before you think about where each switch goes, decide which design series you want. It determines the mounting box your electrician installs.
Switches come in two main formats
- Rectangular (Horizontal) plates it the standard 2×4 inch mounting box that most Thai electricians use by default. They work well for clean, slim layouts and for placing several functions side by side.
- Square plates have a more architectural, gallery-like look that suits modern and minimalist interiors. They come in more functions and usually need a square mounting box, which is a different size from the standard rectangular one.
This is why the choice has to come early. If the box in the wall doesn’t match the switch you fall in love with later, you either compromise on the design or open the wall to change it. Choose your series first, then give your contractor the exact box size for every point. If you’re unsure, our team can confirm the right box for each SAHN series.
Multi-way Control
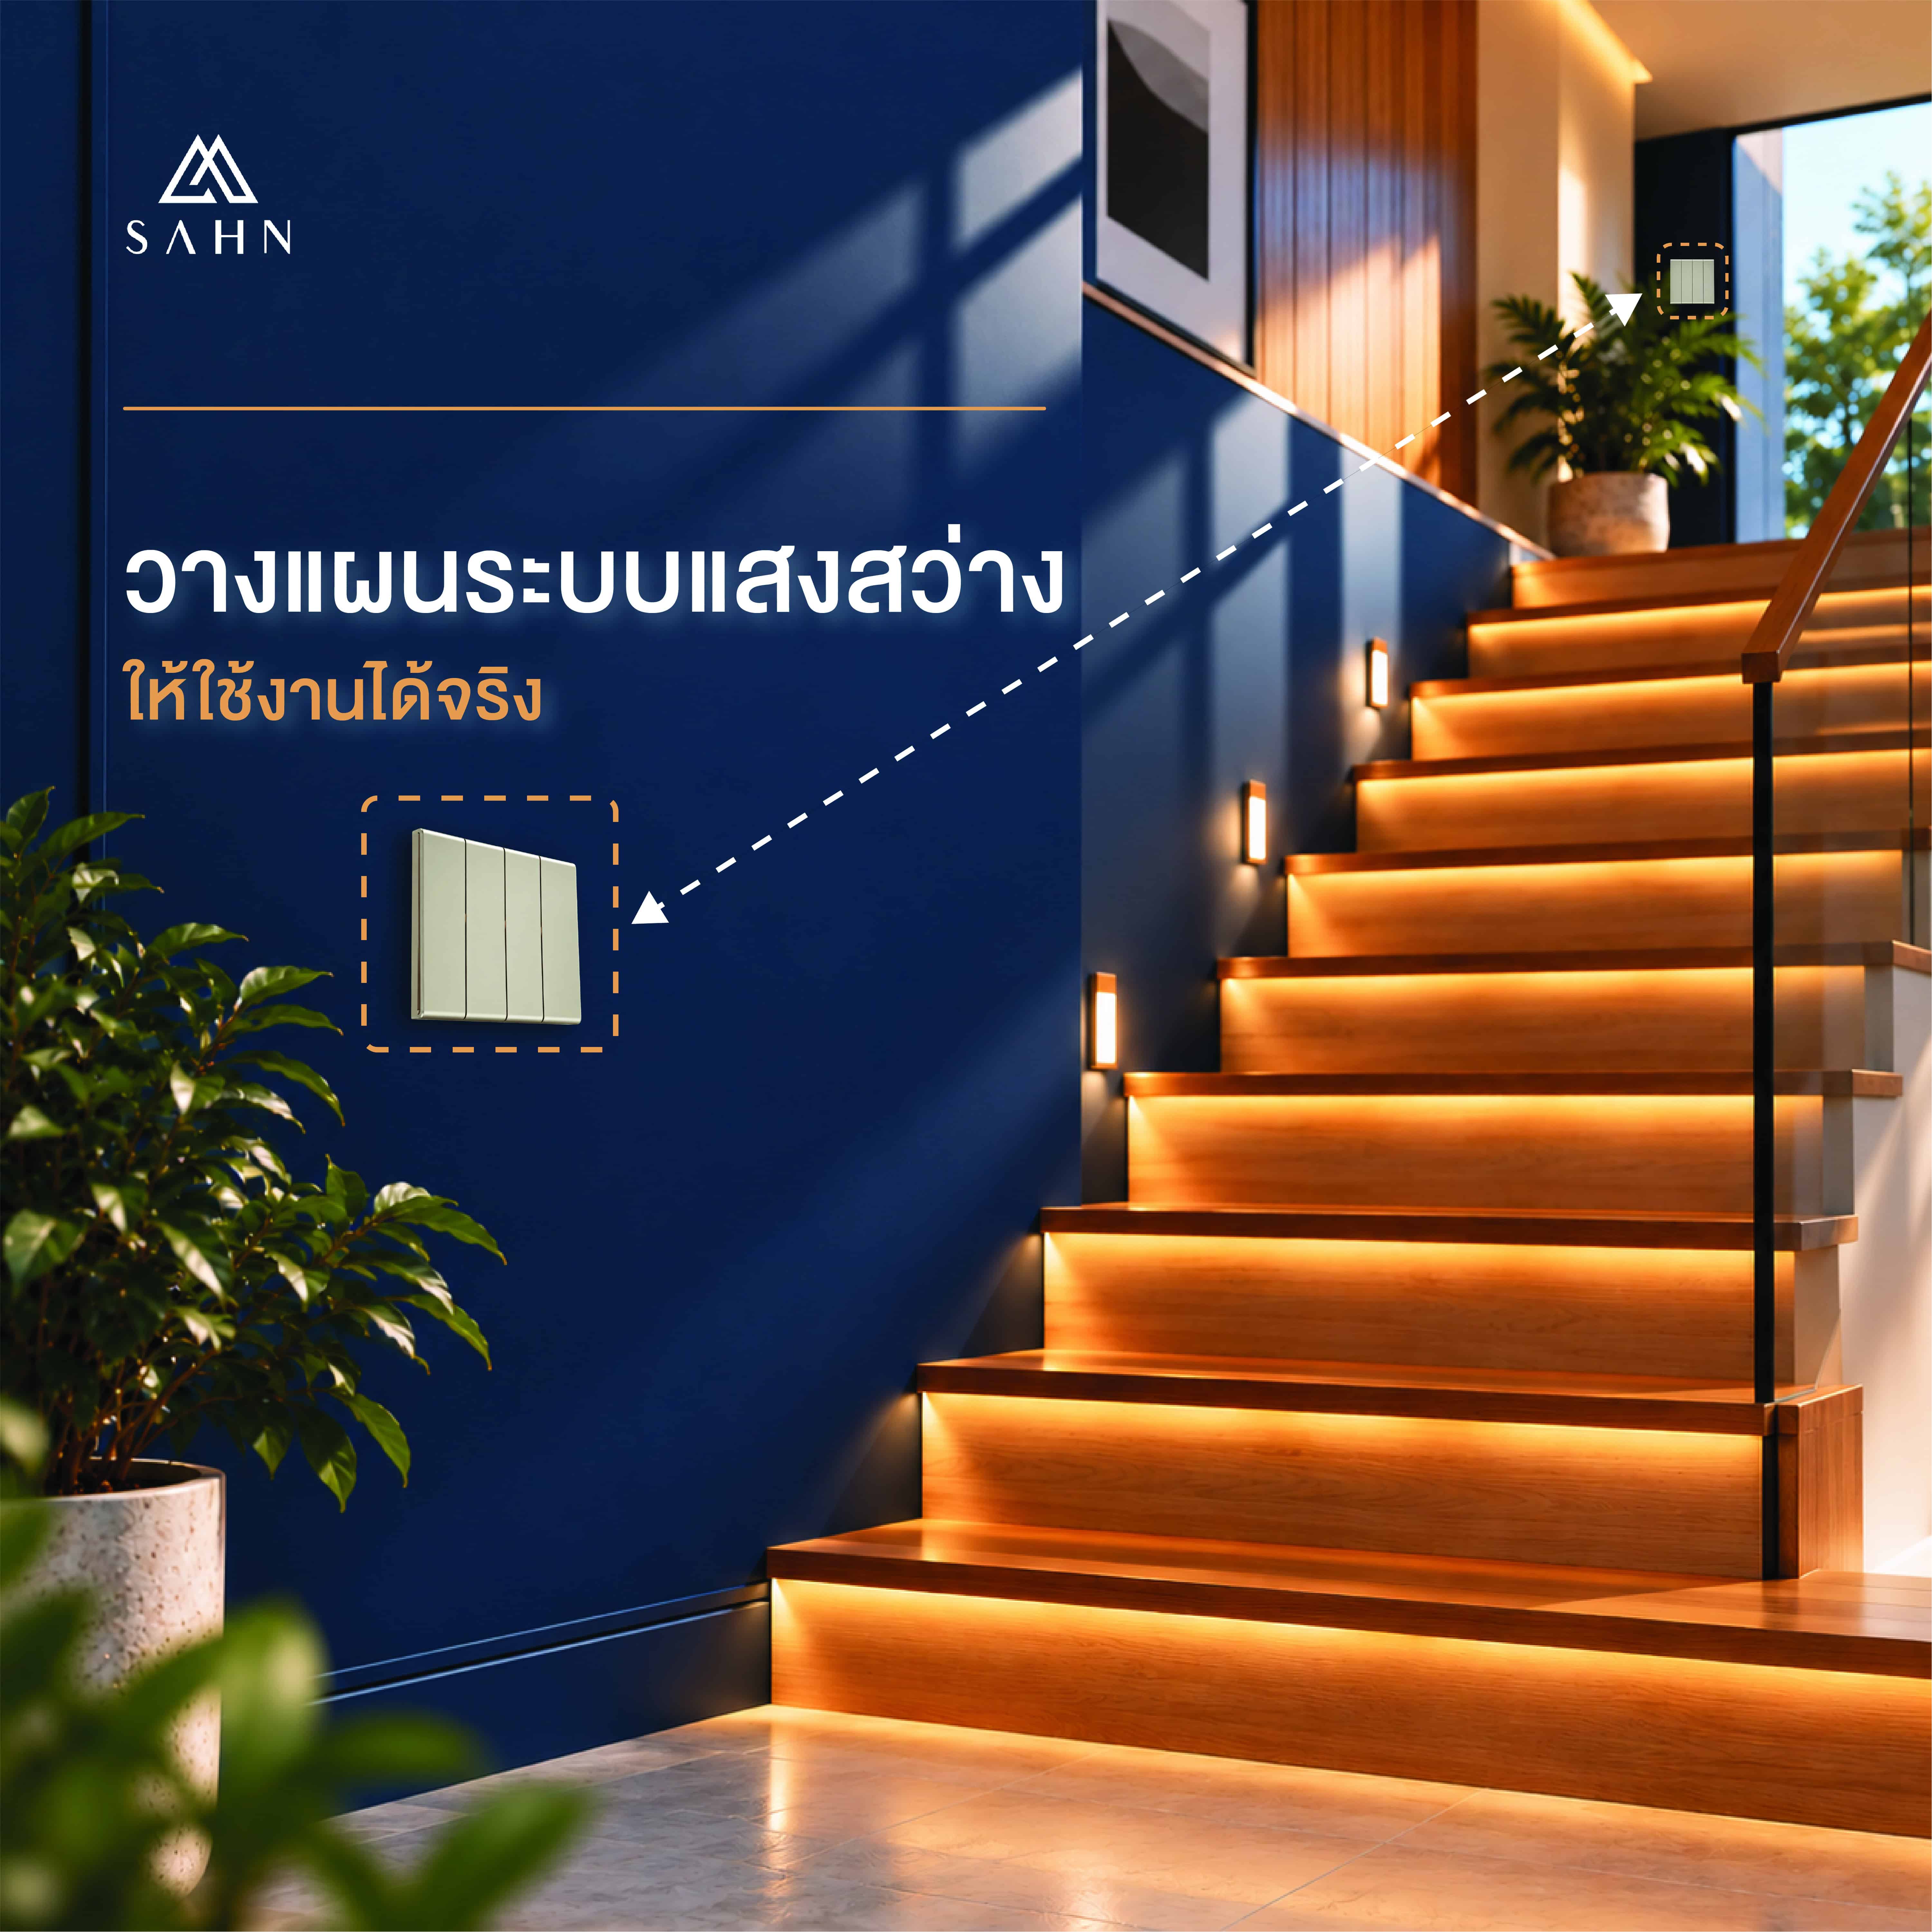
Some lights should be controllable from more than one place, and this has to be wired in from the start. A two-way setup needs extra cables (called travellers) running between the two switch points. A light controlled from three or more points also needs an intermediate switch in between. None of this can be added cleanly once the walls are closed.
Places where multi-way control usually makes sense
- Staircases a switch at the bottom and at the top, so nobody climbs or descends in the dark.
- Long corridors switches at each end.
- Bedrooms one at the door and one beside the bed, so you can turn off the main light without getting up.
- Open-plan living and dining areas with more than one entrance.
- Garages and outdoor areas one switch inside the house and one at the door or gate.
While you’re mapping these points, also ask
- Would a dimmer change how this room gets used? Dining rooms, living areas and master bedrooms benefit most. Also check that the light fittings and LED drivers you plan to buy are dimmable
- Is each switch plate the right number of gangs for how the room actually works? A four-gang plate crammed where a five-gang belongs is a common mistake, and adding one later usually means a new box.

Smart Switch
Even if you’re not ready for a full smart home today, plan the wiring so you can upgrade later without opening the wall.
The key point is the neutral wire. In many Thai homes the switch box only receives the live wire, and the neutral goes straight to the light fitting. A standard switch works fine this way. Most smart switches, however, need a neutral wire in the switch box to power their own electronics and stay connected to Zigbee. Without it, you’re limited to no-neutral models, which can cause flickering or ghosting with low-wattage LED lights.
The key point is the neutral wire. In many Thai homes the switch box only receives the live wire, and the neutral goes straight to the light fitting. A standard switch works fine this way. Most smart switches, however, need a neutral wire in the switch box to power their own electronics and stay connected to Zigbee. Without it, you’re limited to no-neutral models, which can cause flickering or ghosting with low-wattage LED lights.
Other things to plan now
- Deeper mounting boxes where you expect smart modules, since they need more room behind the plate.
- Hub and router locations, so wireless signals reach every switch reliably.
- Scenes and automation, such as “Good night” turning off every light from the bedside, or curtains, air conditioning and lighting linked together. Knowing what you want lets the wiring support it.
- Wireless remote switches as a backup option for spots where running new two-way wiring isn’t practical.

Enough Sockets or Network Wires
Most homes end up with too few sockets in the wrong places, and the result is extension cords snaking across the floor. Picture how you’ll use each room
- Bedside tables: sockets with USB-A and USB-C charging.
- TV wall: several sockets for the TV, soundbar, set-top box and router, plus a LAN point behind the console.
- Kitchen: sockets along the counter and island, and dedicated circuits for high-load appliances such as the oven, induction hob, microwave and water heater.
- Home office: enough sockets at desk height and a wired network point.
- Bathroom: a hair dayer socket where needed, with appropriate protection.
- Outdoor and balcony: weather-protected sockets for garden lights, tools or an EV charger.
Network cables (LAN) deserve special attention. A LAN cable must run as one continuous length from your network cabinet or router to each point. Unlike power wiring, it can’t simply be joined in the middle without losing speed or stability. If a point is forgotten, adding it later usually means a new cable pulled through the wall or ceiling.
So plan these from the beginning
- LAN points for the TV, home office, gaming area and any CCTV cameras.
- Ceiling LAN points for Wi-Fi access points, so signals cover every floor evenly.
- A central spot for the network cabinet, with all cables leading back to it.
- Separate conduits for LAN and power cables to reduce interference, plus a spare pull string in each conduit for future upgrades.

If your renovation is moving into the wiring stage this quarter, now is the moment to get this right. Bring your floor plan to SAHN showroom and our design team will walk through it room by room with you, flagging exactly where two-way wiring, dimmers, and extra socket capacity are worth specifying to your contractor. You can also browse the full range at sahndesign.com or follow @sahnthailand for more planning tips as the season picks up. A short conversation now is a lot cheaper than reopening a finished wall in January.


